PiKVM V4 Mini in a 10-inch rack
PiKVM V4 Mini in a 10-inch rack: CM4-based KVM over IP with 1920 × 1200 HDMI capture, GbE, ATX power control and a 12 W peak, 1U flat on the hex shelf.
 Mica Voss@micavoss4 min read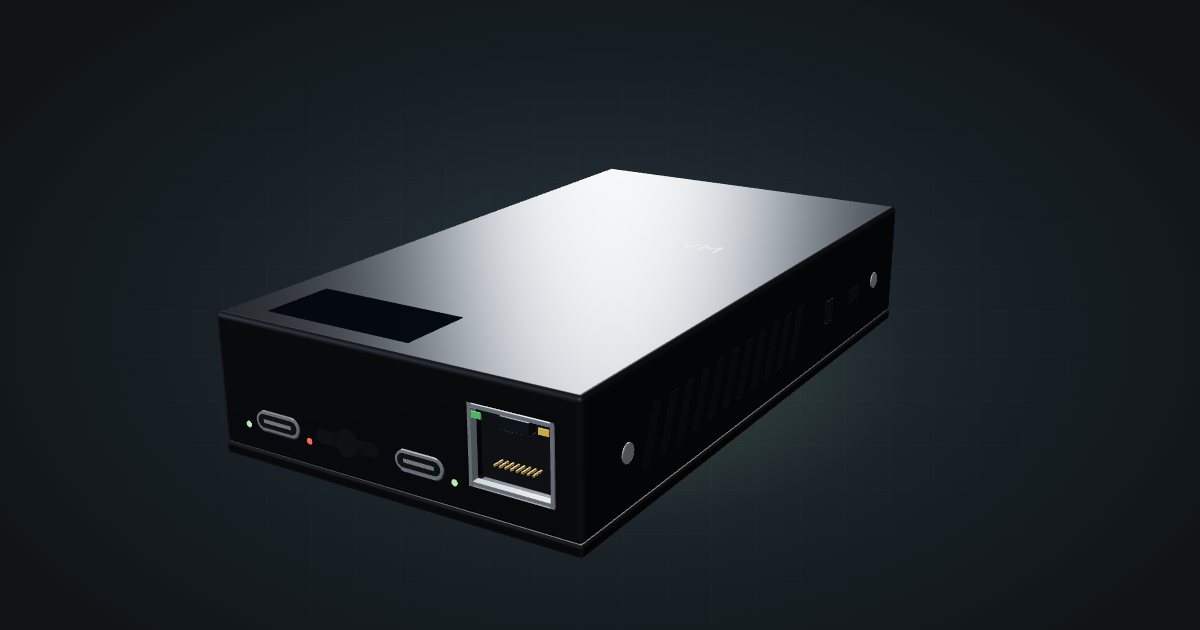
On this page
The PiKVM V4 Mini is a ready-made KVM-over-IP box built around a Raspberry Pi Compute Module 4. It captures a computer’s HDMI output, emulates its keyboard, mouse and USB drives, and with the included ATX board it can also press the power and reset buttons. In a mini rack it is the remote console for the server beside it, from BIOS screens to reinstalling the operating system.
At a glance
| Role | KVM over IP for one machine: HDMI capture, USB emulation, ATX power control |
| Compute | Raspberry Pi Compute Module 4 (included) |
| Video capture | HDMI up to 1920 × 1200 at 60 Hz, MJPEG and H.264, HDMI audio |
| Networking | One 1 GbE RJ45; optional Wi-Fi b/g/n |
| Power | USB-C, 5.1 V 3 A; peak up to 12 W |
| Size and weight | 120 × 68 × 24 mm, 0.35 kg |
| Operating temperature | 0 to 50 °C |
Where it fits in a mini rack
A KVM box earns its unit the first time a node will not boot. With the PiKVM you see the screen in a browser, type into the BIOS, mount an ISO as a virtual drive and power-cycle the machine through the ATX port, all without a monitor on a cart. The 128 × 32 OLED on the lid shows the address it got.
The V4 Mini is the smaller of PiKVM’s two V4 models. Compared with the V4 Plus it has no HDMI outputs, no USB 3.0 ports and a USB-C supply instead of a barrel jack, and PiKVM’s comparison table lists no support for its multiport KVM switches. If you want one PiKVM to reach several machines through a switch, that is a V4 Plus feature.
What it is not: a server in its own right. The CM4 runs PiKVM’s software and nothing else should depend on it.
How it fits a 10-inch rack
The configurator checks each placement against every rack in the catalogue:
There is no dedicated mount in the catalogue, and the JetKVM mounts are cut for a much smaller box. The 10i hex shelf takes it flat in 1U at 154 mm deep, or upright in 2U, and both fit every RackMate frame.
Lie it flat with the 68 mm Ethernet end facing forward. At 120 mm long it leaves room on the shelf behind it for the HDMI and USB-C cables to the target, and beside it there is space for a second small device.
Power
PiKVM’s datasheet gives a peak of up to 12 W, 2.6 A at 5 V, from a 5.1 V 3 A USB-C supply; the Mini ships with a USB-C supply. There is no idle figure, so the catalogue lists the low end as unknown and plans with the 12 W peak.
The datasheet lists USB-C as the only power connection, so the supply needs a socket at the back of the rack; plan it alongside the adapter of the machine it manages.
Networking and cabling
The single 1 GbE RJ45 sits on the front end, next to the USB-C power input, the microSD slot and the USB-C serial console. Patch it with a short cable to a front keystone or a front-facing switch port. Put it in a management VLAN: anyone who can reach a KVM can reach the machine behind it.
The rear end carries the connections to the target: HDMI input, USB-C OTG for keyboard, mouse and drive emulation, and an RJ45 ATX control port. That last one is not Ethernet. It goes to the included ATX board inside the target machine, never to a switch or patch panel, and the configurator does not offer it as a network port.
How it compares to the other KVMs in the catalogue
| PiKVM V4 Mini | JetKVM | GL.iNet Comet Pro | |
|---|---|---|---|
| Video capture | 1920 × 1200 at 60 Hz | 1080p at 60 fps | HDMI capture with loop-out |
| Ethernet | 1 GbE | 100 Mbps | 1 GbE |
| Power | 12 W peak | 1.8 W measured peak | Under 8 W |
| Size | 120 × 68 × 24 mm | 43 × 60 × 31 mm | 84 × 93 × 47 mm |
The PiKVM is the largest and the most power-hungry of the three. In return you get ATX power control out of the box, mass-storage emulation and PiKVM’s open software.
Full specifications
Plan it
Open the PiKVM V4 Mini in the catalogue to add it to a rack plan on the hex shelf. The JetKVM guide and the GL.iNet Comet Pro guide cover the alternatives compared above.
Sources
Related guides
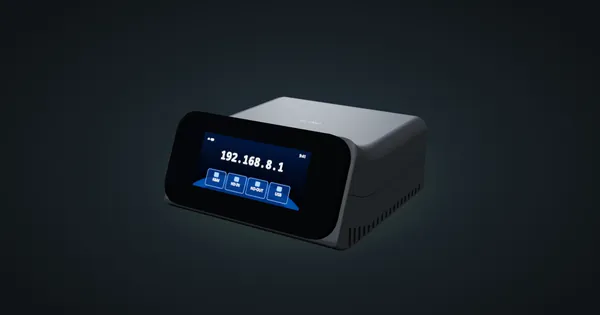
GL.iNet Comet Pro (GL-RM10) in a 10-inch rack
GL.iNet Comet Pro in a 10-inch rack: 4K30 KVM over IP with HDMI loop-out, a rear Gigabit port, under 8 W, and 2U flat on the hex shelf.
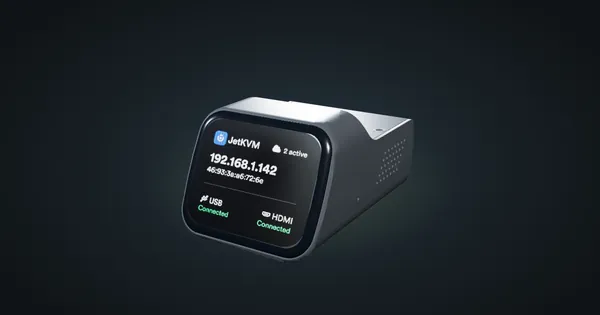
JetKVM in a 10-inch rack
JetKVM in a 10-inch rack: KVM-over-IP for the machine beside it, three printable combo mounts, a rear 100 Mbps port and a tiny power budget.
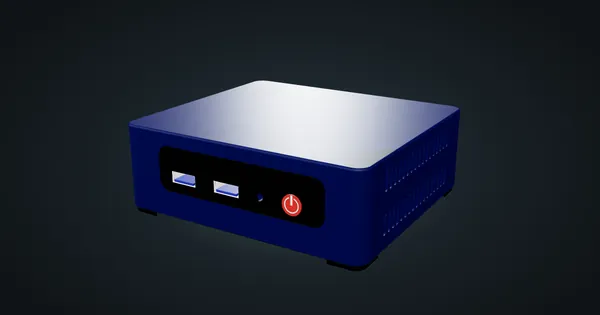
Beelink Mini S12 / N100 in a 10-inch rack
How the Beelink Mini S12 / N100 fits a 10-inch rack: two 1U mounts, one with a JetKVM, a 6 W TDP N100, a 36 W adapter and a rear Gigabit port.