Raspberry Pi 4 Model B in a 10-inch rack
Racking the Raspberry Pi 4 Model B: three printable mounts including a 2-SSD NAS plate, a 5 V / 3 A USB-C supply and one front Gigabit port.
On this page
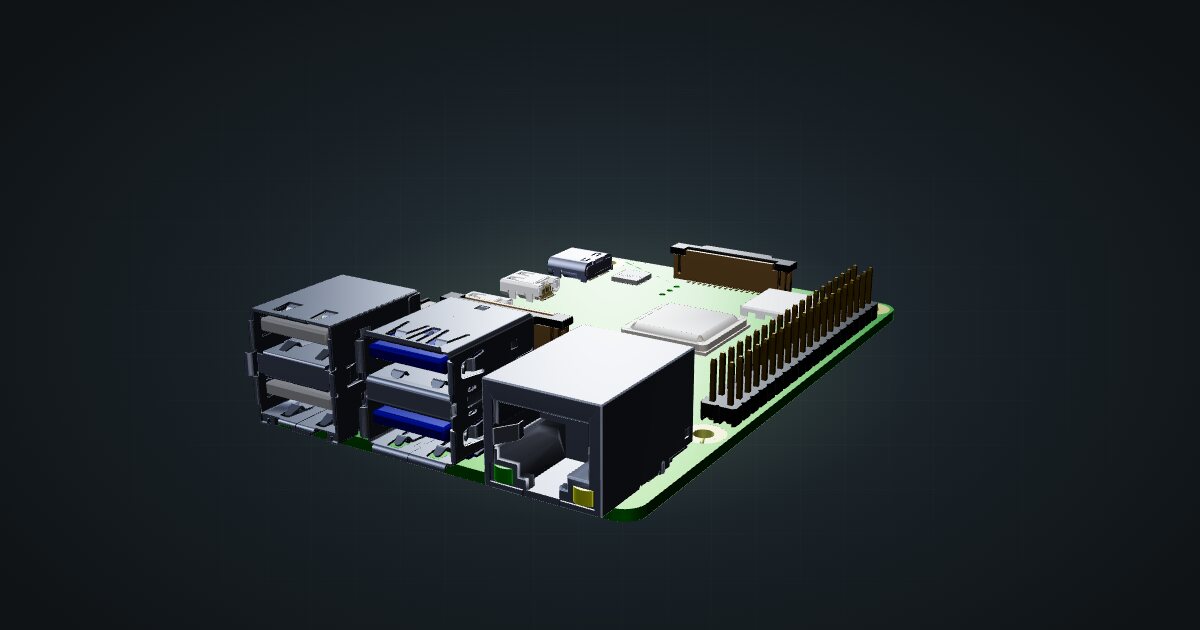
The Raspberry Pi 4 Model B is the board many mini racks were built around, and plenty of them still run DNS, dashboards and home automation. It lacks the Pi 5’s PCIe lane and clock speed, but it shares the same 85 × 56 mm footprint, fits the same dual mount and gets by on a smaller supply. It suits anyone racking boards they already own, or building a cheap, low-stakes cluster.
At a glance
| Processor | Broadcom BCM2711, quad-core Cortex-A72 at 1.8 GHz |
| Memory | 1, 2, 4 or 8 GB variants; the model does not specify which |
| Storage | microSD card slot |
| Networking | Gigabit Ethernet, 2.4/5 GHz 802.11ac Wi-Fi, Bluetooth 5.0 |
| USB | 2 × USB 3.0, 2 × USB 2.0 |
| Power | 5 V DC via USB-C, 3 A minimum |
| Board | 85 × 56 mm |
Where it fits in a mini rack
The Pi 4 is a service box, not a server. Pi-hole or AdGuard Home, a Home Assistant instance, a WireGuard endpoint, a print server or a metrics exporter all sit comfortably on a quad-core Cortex-A72 with a few gigabytes of memory. A handful of boards make a practical k3s or Kubernetes lab: real nodes, real networking and small failure domains, without the noise of x86 hardware.
Its weak spot is storage. The board itself only has a microSD slot, so anything that writes a lot belongs on an SSD on one of the USB 3.0 connectors. That is the idea behind the Pi 4 NAS plate: the board and two SSD bays on one plate. Treat the result as a backup target or a small media share, not a fast NAS, because every byte goes through USB and out over a single Gigabit port.
What it is not: a VM host, a database server under real load, or anything that needs more than Gigabit networking. If you are buying new for those jobs, look at the Pi 5 or a mini PC instead.
How it fits a 10-inch rack
The board measures 85 × 56 mm, so fit is never the question; grouping is. The configurator checks every placement against each rack in the catalogue:
Every option fits all six RackMate frames, from the T0 and T1 at 200 mm deep to the 260 mm Plus frames and the T2. The dedicated mounts are shallow, 92 mm for the dual mount and the JetKVM combo and 102 mm for the NAS plate, which leaves room behind them for the USB-C supplies and their cables.
Three community mounts take the Pi 4:
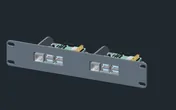
Rack height: 1U · Depth: 92 mm · Mounting: 3D-printed 1U dual-board carrier
Details & sources →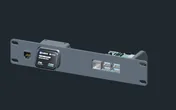
Rack height: 1U · Depth: 92 mm · Mounting: 3D-printed 1U combined carrier
Details & sources →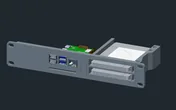
Rack height: 1U · Depth: 101.8 mm · Mounting: 3D-printed 1U NAS carrier
Details & sources →- Dual Raspberry Pi mount puts two boards side by side in 1U, with 2 bays that each take a Pi on its own. The Pi 5 uses the same mount, so a mixed pair works.
- Raspberry Pi + JetKVM mount pairs one board with a JetKVM and a keystone, for remote console access in the same unit.
- Raspberry Pi 4 NAS plate carries the board with two SSD bays in 1U.
The NAS plate is a Pi 4 part. The Pi 5 does not use it; it has its own 2-SSD and 5-SSD plates. If you plan to upgrade the board later, plan the plate too.
If you would rather not print a carrier, the 10i hex shelf takes the board flat in 1U or standing upright in 2U, at 154 mm deep.
Power
Raspberry Pi specifies 5 V DC over USB-C with at least 3 A for the Pi 4, with the GPIO header as an alternative input. The catalogue budgets about 3 W for a bare board doing light work and plans for 15.3 W, the allowance of a 5.1 V × 3 A supply. The low figure is typical active draw, not a measured idle minimum, and USB drives on the NAS plate draw from the same budget.
That makes one proper supply per board the rule, not a spare phone charger. Rack several and the supplies become the planning problem: each needs an outlet and a place behind the mounts. Power over Ethernet is possible too, but only with a separate PoE HAT.
Networking and cabling
The Pi 4 has one Gigabit Ethernet port, and in the catalogue mounts it faces the front of the rack. Patch it with a short cable to a front keystone or straight into a front-facing switch port in the same rack. Wi-Fi and Bluetooth 5.0 are on board and handy for first setup, but a rack service belongs on the wire.
A Pi cluster wants one switch port per board plus an uplink. Count them before you choose the switch, and keep the patch cables short and at the front.
How it differs from the Raspberry Pi 5
The two boards share a footprint, the dual mount and the JetKVM combo mount, but they are different classes of machine:
- CPU: the Pi 4’s BCM2711 runs a quad-core Cortex-A72 at 1.8 GHz; the Pi 5’s BCM2712 has four Cortex-A76 cores at 2.4 GHz.
- Memory: 1, 2, 4 or 8 GB on the Pi 4; the Pi 5 adds a 16 GB variant.
- Storage: microSD only on the Pi 4 board; the Pi 5 adds PCIe 2.0 ×1 for M.2 storage through a separate HAT.
- Power: 5 V at 3 A minimum versus a 5 V / 5 A supply. The catalogue budgets 3 W against 4 W typical active, and 15.3 W against 25.5 W at the top end.
- Temperature: 0–50 °C for the Pi 4, 0–70 °C for the Pi 5.
For a new build the Pi 5 is the stronger choice. For boards already in a drawer, the Pi 4 still earns its slot.
Full specifications
Plan it
Open the Raspberry Pi 4 Model B in the catalogue to add it to a rack plan with any of the mounts above. No published community build uses it yet, but any Pi 5 layout built on the dual mount translates directly.
For the newer board, read the Raspberry Pi 5 guide. The Raspberry Pi Zero 2 W guide covers the smallest member of the family, and the JetKVM guide covers the console box that shares a mount with it.
Sources
Related guides
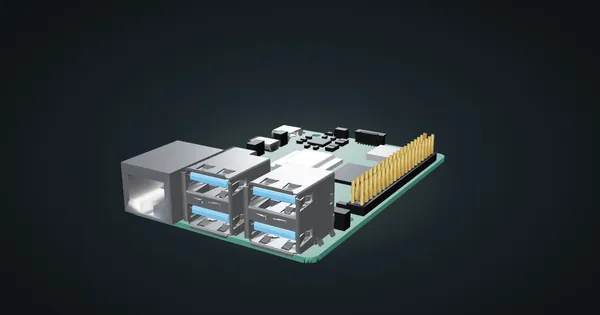
Raspberry Pi 5 in a 10-inch rack
How the Raspberry Pi 5 fits a 10-inch rack: four printable mounts, a 5 V / 5 A USB-C supply, front-facing Ethernet and the full spec sheet.
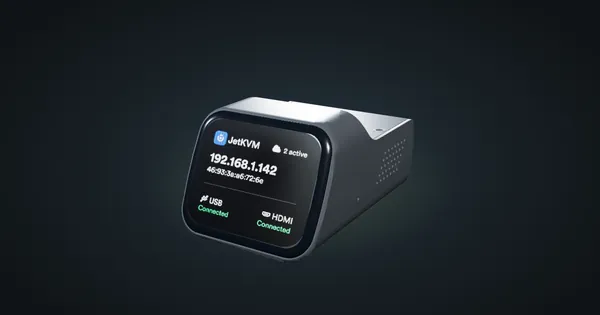
JetKVM in a 10-inch rack
JetKVM in a 10-inch rack: KVM-over-IP for the machine beside it, three printable combo mounts, a rear 100 Mbps port and a tiny power budget.
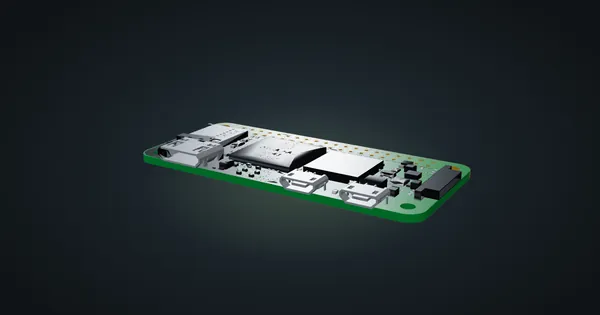
Raspberry Pi Zero 2 W in a 10-inch rack
The Raspberry Pi Zero 2 W in a 10-inch rack: shelf-only placement, Wi-Fi as its only network, 512 MB of RAM and a micro-USB 5 V supply.