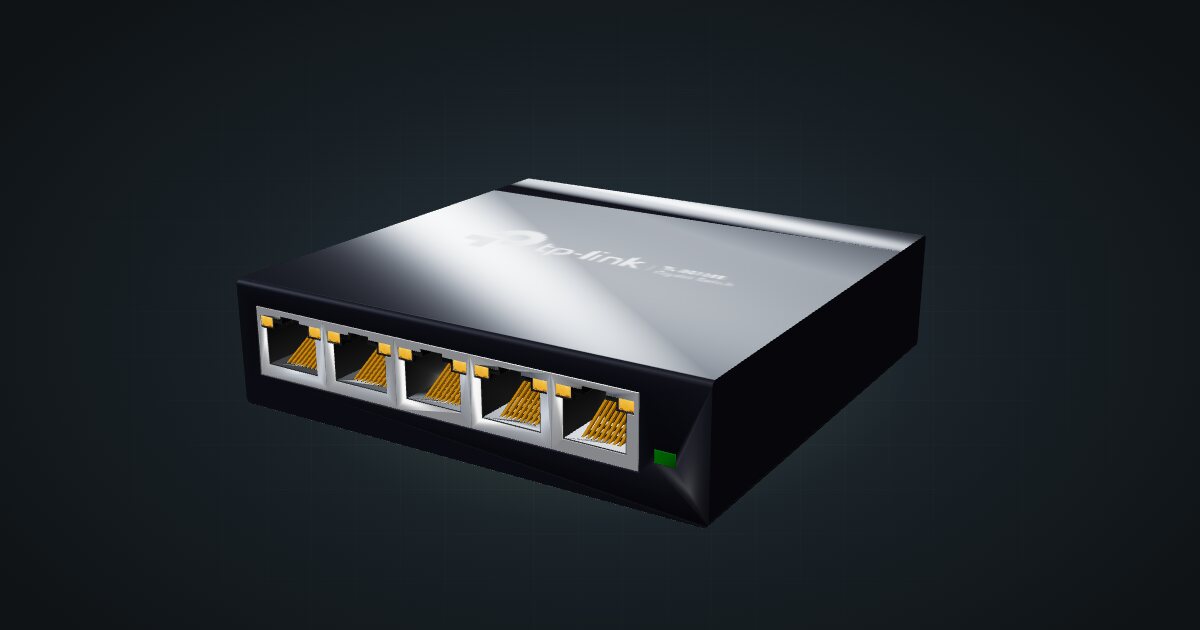
TP-Link TL-SG105E in a 10-inch rack
TP-Link TL-SG105E in a 10-inch rack: five Gigabit ports with Easy Smart management, 2.82 W maximum, a 99 mm deep 1U mount and the hex shelf.

On this page
The TP-Link TL-SG105E is a five-port Gigabit switch that still gives you a management interface. It is Easy Smart managed, fanless and rated at 2.82 W maximum. It suits a compact rack that needs a little control over its ports without stepping up to a larger managed switch.
At a glance
| Ports | 5 × Gigabit RJ45, all on the front |
| Management | Easy Smart managed, web GUI and Easy Smart Configuration Utility |
| Switching capacity | 10 Gbps |
| Forwarding rate | 7.44 Mpps |
| Power | External adapter, 5 V DC / 0.6 A; 2.82 W max |
| Cooling | Fanless |
| Size | 100 × 98 × 25 mm |
Where it fits in a mini rack
The TL-SG105E sits between a plain unmanaged switch and a full managed one. Easy Smart management gives you a web GUI and a configuration utility for the ports, which is what you want once the rack starts to carry more than one kind of traffic: a lab network next to the home network, say, or a management link you would rather keep apart from everything else. Check the feature list in the datasheet against your plan before you rely on a specific function.
Five ports suit a small rack: one uplink to the router, then a NAS, a single-board computer or two and a KVM. Fanless cooling and a 2.82 W ceiling mean it adds no noise and almost nothing to the power budget.
What it is not: a switch for a growing cluster or a fast storage network. Four free ports go quickly, every port is Gigabit, and there is no PoE output, so cameras and access points need their own power.
How it fits a 10-inch rack
The TL-SG105E is a small, shallow box. The configurator checks each placement against every rack in the catalogue:
A dedicated community mount, made for both the SG105 and the SG105E, holds it in 1U at 99 mm deep. That is the shallowest of the options, and it fits every RackMate frame, from the 200 mm deep T0 and T1 to the 260 mm frames, with nothing blocked.
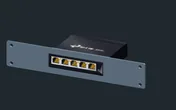
Without the mount, the 10i hex shelf takes the switch flat in 1U or upright in 3U, at 154 mm deep. Flat is the practical fallback. Upright spends three units on a five-port switch, which is a lot to give up in a four-unit T0.
The mount is made for both the SG105 and the SG105E. When you plan, pick the catalogue entry for the switch you actually own, so the power figure and the management status in your plan match the hardware.
Power
TP-Link’s current regional specification rates the TL-SG105E at 2.82 W maximum, specified at 220 V / 50 Hz. Older hardware revisions list 2.66 W, and the revision of the catalogue model is unspecified, so plan with the higher 2.82 W. No idle figure is published.
The 5 V DC / 0.6 A on the external adapter is a supply rating, not a measured draw. In a rack power plan the switch is one of the smallest loads you will add; the adapter mostly costs you an outlet on the strip behind the rack.
Networking and cabling
All five Gigabit RJ45 ports face the front and none face the rear, so the cabling plan is short:
- Patch a switch port straight to a front-facing port on a device in the same rack.
- For a device whose Ethernet port faces the rear, patch the switch to a front keystone and connect the device’s rear port to the rear of that keystone. The link passes through the panel instead of around the rack.
- Never route a cable around the outside of the rack to reach the switch.
A managed switch is only useful if you can reach its web GUI. Decide which port carries the uplink to the network you manage it from, and keep it there.
The datasheet lists a 2K-entry MAC table and 16 KB jumbo frames, both comfortable for a five-port switch.
Full specifications
Plan it
Open the TP-Link TL-SG105E in the catalogue to place it with its mount or on the hex shelf. No community build uses it yet, so it is a clean starting point for your own plan.
If you do not need management, the NETGEAR GS105 guide and the NETGEAR GS305 v3 guide cover two unmanaged five-port switches. The shielded RJ45 keystone coupler guide covers the keystones that make front-to-rear patching work.
Sources
Related guides
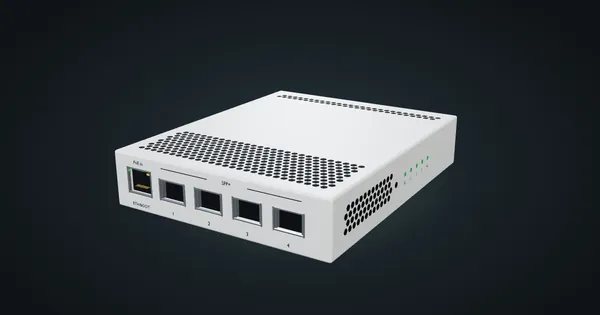
MikroTik CRS305-1G-4S+IN in a 10-inch rack
MikroTik CRS305-1G-4S+IN in a 10-inch rack: four SFP+ cages, PoE-in, RouterOS or SwOS, no fan, and a community 1U tray only 144 mm deep.
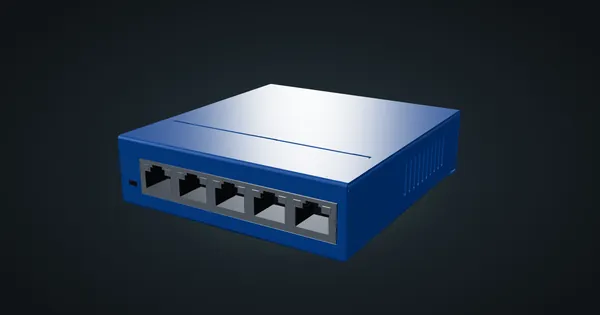
NETGEAR GS105 in a 10-inch rack
NETGEAR GS105 in a 10-inch rack: five unmanaged Gigabit ports, 2.7 W maximum on a 12 V adapter, and a choice of two 1U community mounts.
Ubiquiti UniFi Flex Mini in a 10-inch rack
Ubiquiti UniFi Flex Mini in a 10-inch rack: five Gigabit ports, USB-C or PoE power, 2.5 W maximum draw and a 74 mm deep 1U community tray.