Build the rack, part 1: plan before you buy
The plan behind a complete 10-inch home lab: five roles, nine VLANs, a port map, the parts list and the rack layout, all decided before the first order.
 Mica Voss@micavoss8 min read
On this page
This series builds one complete 10-inch home lab from an empty frame to a hardened, monitored network: a VLAN switch, a bare-metal firewall, DNS with ad blocking, a hypervisor with backups, remote access, a VPN port, monitoring and intrusion blocking. It is the rack from the MINIRACK films, written up as a tutorial you can follow in order. Every part ends in a working state, and every part keeps the lessons from the build that did not go to plan.
Part 1 is the part most people skip: the plan. In this build every network, address, port and part was decided before anything was bought, and that decision paid for itself on the first evening. A switch configured against a written port map is a twenty-minute job. A switch configured against a vague idea is a weekend.
What the rack is for
A home lab earns its space when it does five jobs, and the hardware falls out of those jobs:
| Role | What it does | Hardware in this build |
|---|---|---|
| Edge | Routes between the networks, filters, runs DHCP and DNS, terminates VPNs | ThinkCentre M920q, OPNsense on bare metal |
| Switch | Puts every port in exactly one network and carries the rest tagged to the firewall | MikroTik CSS318-16G-2S+, SwOS |
| Compute | Runs the virtual machines and containers | ThinkCentre M710q, Proxmox VE |
| Storage | Holds the data and the backups | UGREEN DXP4800 with its stock system |
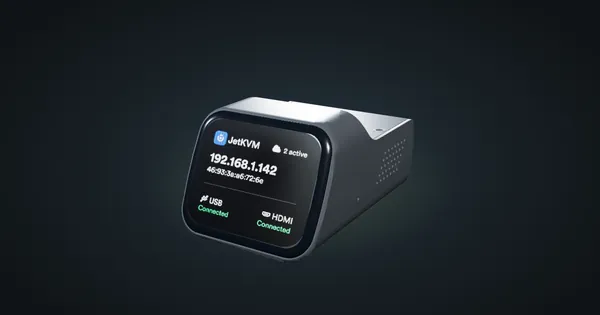
| Out of band | Keeps a way in when the firewall or the hypervisor is down | Raspberry Pi 4B as watchdog, JetKVM on the firewall |
Two Pi 5 round it off: one runs umbrelOS for third-party apps, the other is free compute. Neither is essential; they are the cheap way to try software without touching the hypervisor.
The split between edge and compute is the first decision that matters. One machine can do both (OPNsense as a VM on Proxmox is a common setup), but then a hypervisor reboot takes the whole house offline and a firewall update touches the VMs. Two small Tinys cost less than one big one, and the firewall never notices what the hypervisor does.
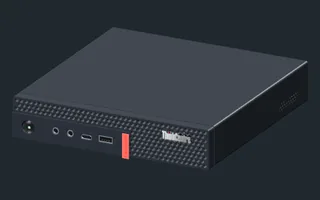
Model width: 180 mm · Model height: 37 mm · Model depth: 183 mm
Details & sources →Model width: 180 mm · Model height: 37 mm · Model depth: 183 mm
Details & sources →
Rack height: 1U · Depth: 160.1 mm · Mounting: 10-inch rack ears included
Details & sources →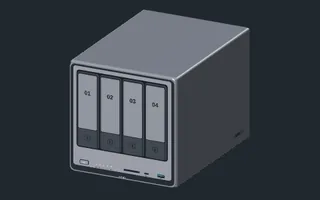
Model width: 178 mm · Model height: 178 mm · Model depth: 257.5 mm
Details & sources →The network plan
The plan is one table, and it is worth writing before anything else. Each VLAN is a trust level, not a room. The scheme is 10.10.<VLAN>.0/24 with the firewall at .1 in each, so an address reads at a glance: 10.10.20.30 is always something in the servers network.
| VLAN | Name | Subnet | Purpose |
|---|---|---|---|
| 10 | MGMT | 10.10.10.0/24 | Switch, hypervisor, DNS server, the service port. Static addresses only |
| 20 | SERVERS | 10.10.20.0/24 | NAS, Pi compute, VMs and containers |
| 30 | LAN | 10.10.30.0/24 | Desk PCs, laptops, phones |
| 40 | IOT | 10.10.40.0/24 | Cameras and smart devices. No internet |
| 50 | APPS | 10.10.50.0/24 | umbrelOS. Internet yes, the rest of the LAN no |
| 60 | DEV | 10.10.60.0/24 | A development VM. Exists only on the trunk, no physical port |
| 70 | VPN | 10.10.70.0/24 | One switch port whose internet leaves through a commercial VPN only (part 8) |
| 80 | TV | 10.10.80.0/24 | Smart TVs: internet and the media server, nothing else. Arrives with the Wi-Fi access point |
| 99 | ISP | the ISP router’s LAN | Transit between the ISP router and the firewall’s WAN. JetKVM and the watchdog Pi live here on purpose |
Three of these rows carry decisions that shape the rest of the series:
- MGMT has no DHCP. Everything in it has a fixed address, and the one laptop that may join it gets a reservation. A network that only answers known devices is a network you can reason about at two in the morning.
- VLAN 99 is the ISP router’s own LAN. The ISP router stays in router mode with its own firewall in front, and OPNsense is one client behind it (double NAT, no DMZ). That costs nothing for a home lab and gives you a second wall should a firewall rule ever be wrong. It also gives the out-of-band devices a home that does not depend on the firewall.
- The TV network exists before the TVs do. Ports and VLANs cost nothing to configure now and a lot to retrofit later. Configure every row of the plan on day one, even the ones whose devices arrive next year.
Give every device a name under one local zone,
rack.lanin this build, and set each device’s own hostname to the same short name. Part 5 defines the names once on the firewall; from then onnas.rack.lanworks from every network you allow.
The port map
The switch has sixteen copper ports and two SFP+ cages. “Access” means the port carries one VLAN untagged, the device on it does not know VLANs exist. “Trunk” means several VLANs tagged, for a device that does.
| Port | Device | Mode | VLANs |
|---|---|---|---|
| 1 | ISP router LAN | access | 99 |
| 2 | JetKVM | access | 99 |
| 3 | M710q, Proxmox | trunk | 10, 20, 50, 60 |
| 4 | NAS LAN 1 | access | 20 |
| 5 | NAS LAN 2, spare | access, disabled | 20 |
| 6 | Pi 5, umbrelOS | access | 50 |
| 7 | Pi 5, compute | access | 20 |
| 8 | Emergency WAN, disabled | access | 99 |
| 9 to 11 | Desk PC, laptops | access | 30 |
| 12 | Wi-Fi access point, later | trunk | 30 untagged; 10, 40, 80 tagged |
| 13 | Cameras, IoT | access | 40 |
| 14 | The VPN port | access | 70 |
| 15 | Pi 4B, watchdog and DNS | hybrid | 99 untagged, 10 tagged |
| 16 | Service port, the laptop | access | 10 |
| 17 (SFP+) | M920q firewall, 10G DAC | trunk | every VLAN, including 99 |
| 18 (SFP+) | Reserved for a 10G NAS | closed | none |
Two ports deserve a word. Port 17 carries VLAN 99 as well: the firewall’s WAN is not a separate cable to the ISP router, it rides the same 10G trunk as everything else, and the ISP router reaches it through port 1. One cable from the router is all there is. The build started with two cables and the onboard port as WAN; it worked, but a second run to the router was not worth it. Port 8 is an emergency WAN: an access port in the ISP network that bypasses the firewall completely. It stays disabled in the switch until the day the firewall is down and you need the internet anyway (part 9), and it gets a red label.
Never leave a cable in port 8. Patched to any other port it leaks the ISP network into that port’s VLAN, past the firewall, or creates a loop. An unused live port is an open door into a VLAN; disable the ones you do not patch.
The addresses you fix now
A handful of addresses are set by hand and everything else is a DHCP reservation on the firewall. Write them down before you start; they appear in every later part.
| Device | VLAN | Address |
|---|---|---|
| Firewall, every VLAN | each | 10.10.x.1 |
| Switch management | 10 | 10.10.10.2 |
| Proxmox host | 10 | 10.10.10.10 |
| Pi 4B, DNS side | 10 | 10.10.10.53 |
| Service laptop | 10 | 10.10.10.250, a reservation |
| NAS | 20 | 10.10.20.30, a reservation |
| Pi 5 compute | 20 | 10.10.20.40, a reservation |
| Pi 5 umbrelOS | 50 | 10.10.50.20, a reservation |
| Firewall WAN | 99 | a reservation in the ISP router |
Check the ISP router’s lease table before you pick the firewall’s WAN address. Its pool may start right at .2, and in this build .2 already belonged to another device.
The rack
Twelve units in a DeskPi RackMate T2, heavy things low, the switch high, the cables short:
| U | Item |
|---|---|
| 12 | Keystone patch panel: wall jacks and the ISP cable land here |
| 11 | CSS318 on its own 10-inch ears |
| 10 | Two Pi 5 on a dual mount |
| 9 | Pi 4B and the JetKVM on a shared mount |
| 8 | M710q, Proxmox, in a printed Tiny mount |
| 7 | M920q, OPNsense, in the same mount, with the SFP+ card |
| 6 | 1U PDU: every brick behind it |
| 1 to 5 | DXP4800 on its carrier |
The real cabinet has a brush panel under the switch for the cables to drop through; in the configurator that unit went to the PDU. Check depth before you order shelves: the DXP4800 is about 254 mm deep, which is more than some 10-inch cabinets allow. If it does not fit, stand it on top and run one cable down.
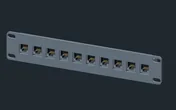
Rack height: 1U · Depth: 29.4 mm · Mounting: 3D-printed 1U carrier
Details & sources →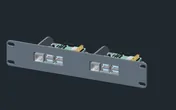
Rack height: 1U · Depth: 92 mm · Mounting: 3D-printed 1U dual-board carrier
Details & sources →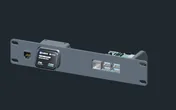
Rack height: 1U · Depth: 92 mm · Mounting: 3D-printed 1U combined carrier
Details & sources →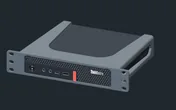
Rack height: 1U · Depth: 186.5 mm · Mounting: 3D-printed 1U carrier
Details & sources →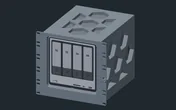
Rack height: 5U · Depth: 267 mm · Mounting: 3D-printed 5U NAS carrier
Details & sources →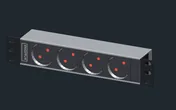
Rack height: 1U · Depth: 62.5 mm · Mounting: Two angle profiles for 10-inch rack mounting included
Details & sources →The parts list
Beyond the devices above, the plan calls for:
- For the firewall Tiny: 2 x 8 GB DDR4 SO-DIMM (16 GB is plenty for OPNsense), a 256 GB NVMe drive, the PCIe riser for the Tiny’s slot, a Mellanox ConnectX-3 SFP+ card, a printed rear baffle for the card, and one passive SFP+ DAC, 1.5 m, to the switch. The M920q guide covers the slot and the adapters.
- For the hypervisor Tiny: 32 GB, a 512 GB NVMe for the system and the guests, and a 2 TB 2.5-inch disk for data until the NAS carries it. The M710q guide has the specifics.
- For the Pis: an official 27 W supply for each Pi 5 and a 15 W supply for the Pi 4B. One supply per Pi, not a shared hub. Part 2 explains why in detail; the short version is that a bus-powered hub that also charges phones took all three Pis down at once.
- Cables: eleven slim Cat6 patch cables of 0.25 to 0.5 m, colour-coded per VLAN (blue servers, grey LAN, yellow IoT, red ISP, green management), two longer runs from the ISP router, and for the JetKVM an HDMI cable (or DisplayPort adapter, depending on the Tiny’s rear module) plus USB-A to USB-C.
- A laptop with an RJ45 port and a USB stick of 8 GB or more. The laptop is the service console for the whole series; it lives on port 16.
Downloads to have on the laptop before the first power-on: the latest stable SwOS image for the switch, the Proxmox VE ISO, the OPNsense “vga” installer image, the Proxmox Backup Server ISO, the umbrelOS image for the Pi 5, Raspberry Pi Imager, and a note with the ISP router’s admin URL and login.
Passwords, before anything boots
Create the entries in your password manager now, one per system: switch admin, switch SNMP community, Proxmox root, OPNsense root, the NAS admin, the backup server root and its encryption key (also on paper), JetKVM, umbrelOS, and an SSH key for the Pis. Generating them before the build means nothing is ever left on a default password because “it is only for tonight”.
What comes next
Part 2 mounts the hardware, patches the cables per the map above and configures the ISP router. Part 3 turns the port map into a switch configuration, including the one step you must do last. The whole series is listed on the Build the rack page.
Sources
Related guides
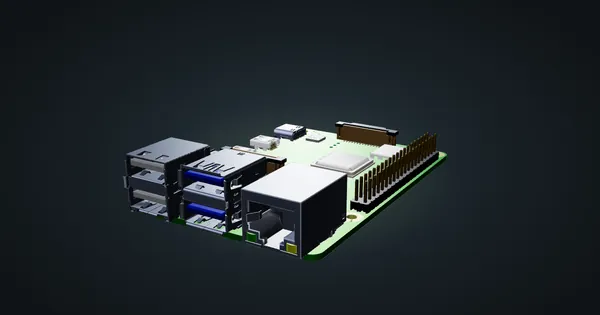
Raspberry Pi 4 Model B in a 10-inch rack
Racking the Raspberry Pi 4 Model B: three printable mounts including a 2-SSD NAS plate, a 5 V / 3 A USB-C supply and one front Gigabit port.
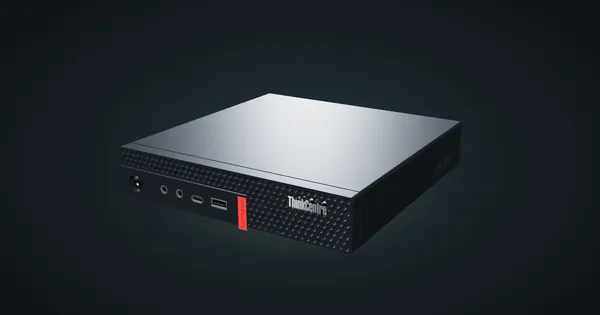
Lenovo ThinkCentre M710q Tiny in a 10-inch rack
How the ThinkCentre M710q Tiny fits a 10-inch rack: the M910q's budget sibling on B250, no vPro, no PCIe slot, a rear Gigabit port and two 1U mounts.
JetKVM in a 10-inch rack
JetKVM in a 10-inch rack: KVM-over-IP for the machine beside it, three printable combo mounts, a rear 100 Mbps port and a tiny power budget.