TP-Link Omada OC200 V1 in a 10-inch rack
TP-Link's Omada OC200 V1 hardware controller in a 10-inch rack: hex-shelf placement, PoE or Micro-USB power, Fast Ethernet ports and V1 caveats.
On this page
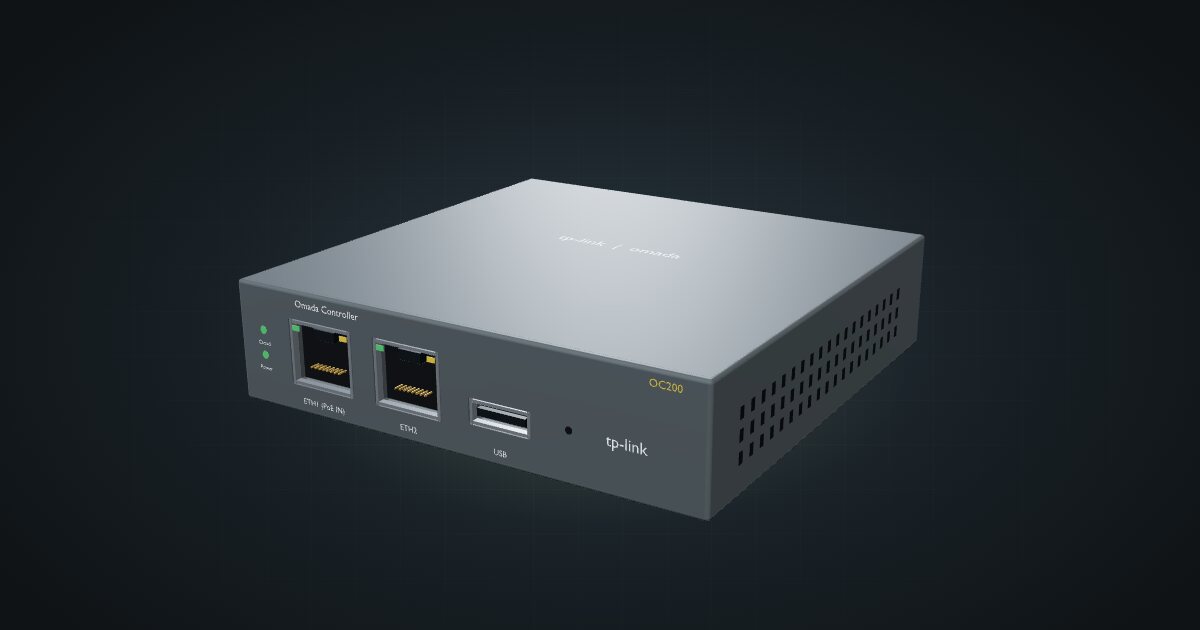
The OC200 is TP-Link’s hardware controller for Omada networks: a small box that runs the Omada controller, so no PC or virtual machine has to stay on to manage your access points, switches and routers. This guide covers hardware version 1, with two Fast Ethernet ports rather than the Gigabit ports of newer revisions. It suits a rack built around Omada gear that wants its management on dedicated, low-power hardware.
At a glance
| Processor | Dual-core Cortex-A53 at 1.2 GHz |
| Memory and storage | 1 GB DDR3; 4 GB eMMC + 1 MB NOR flash |
| Ethernet | 2 × 10/100 Mbps RJ45; ETH1 supports PoE input |
| Manages | Up to 100 Omada APs, 20 JetStream switches and 10 Omada routers |
| Power | 802.3af/at PoE, or Micro-USB 5 V / minimum 1 A |
| Size | 100 × 98 × 25 mm (W × D × H) |
| Operating temperature | 0–40 °C |
Where it fits in a mini rack
The OC200 does one job: it is the always-on controller for an Omada network. Adoption, configuration, firmware and statistics for Omada access points, JetStream switches and Omada routers all live here, with cloud access for managing it away from home. The datasheet limits are up to 100 access points, 20 switches and 10 routers, which is far more than a home rack will ever need.
It makes sense in a mini rack for two reasons. It is tiny, so it costs almost no space. And it can run from PoE, so a single cable from an Omada PoE switch powers and connects it.
What it is not: a router, a switch or anything that carries your traffic. The controller manages the network; your data flows through the switches and the router. That is why the Fast Ethernet ports are not a bottleneck for its job. It is also Omada-only, so it is no help for other vendors’ gear.
This guide and its numbers cover the V1 hardware only. Newer OC200 revisions have Gigabit interfaces that V1 does not, so check the hardware version on the label before you rely on these figures.
How it fits a 10-inch rack
There is no dedicated mount for the OC200 in the catalogue, and it ships without a printable one. The configurator checks the generic shelf instead:
The 10i hex shelf takes it flat in 1U, deck included, or upright in 3U, at 154 mm deep. Both fit every RackMate frame, from the T0 and T1 at 200 mm deep to the T2 and the Plus frames at 260 mm.
Flat is the obvious choice. At 25 mm tall it barely uses its unit, and laid down it leaves space beside it on the deck for another small device. Upright only makes sense if you are short on shelf width, and it costs three units of height for a device that is 25 mm tall.
The 98 mm depth leaves plenty of room behind it on the shelf, which matters if you power it from Micro-USB, because that cable plugs in at the rear.
Power
TP-Link’s V1 datasheet gives two figures for two different setups, not an idle and a peak:
- 7.5 W maximum when powered over PoE with a USB 2.0 device connected.
- 3.5 W on Micro-USB power with no USB device connected.
The catalogue plans for 7.5 W as the high figure. There is no idle figure, so do not read 3.5 W as the low end of a range.
How you power it changes where that load lands. On PoE, the 7.5 W comes out of the PoE switch’s budget, so count it there alongside your access points. On Micro-USB, it needs a 5 V adapter with at least 1 A, and that adapter needs a home at the back of the rack.
Networking and cabling
Both Ethernet ports, ETH1 and ETH2, face the front of the rack in the catalogue model. They run at 100 Mbps.
- Patch each one with a short cable to a front keystone or a front-facing switch port in the same rack.
- If the link has to leave the rack, it goes through the rear of a keystone, never around the rack.
- ETH1 is the PoE input (802.3af/at). Plug it into a PoE port and the controller needs no separate power cable at all.
PoE also keeps every cable at the front. With Micro-USB power, one cable runs to the rear socket; keep it inside the frame, back to a power strip behind the shelf. The front USB 2.0 port is meant for backups and is easy to reach on the shelf.
Full specifications
Plan it
Open the TP-Link Omada OC200 V1 in the catalogue to place it on the hex shelf in your rack plan, or start from a community build that already includes it:
For an Omada router to manage, see the TP-Link ER605 guide. For the patching side, the shielded RJ45 keystone coupler guide explains how front keystones connect to the rear of the rack.
Sources
Related guides
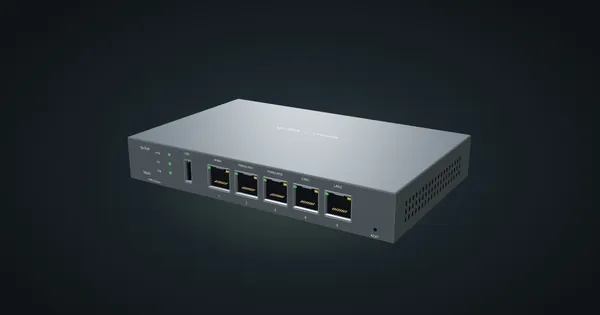
TP-Link Omada ER605 v2 in a 10-inch rack
TP-Link ER605 v2 in a 10-inch rack: five front Gigabit ports with up to three WANs, Omada SDN support and 7.94 W max, flat in 1U.
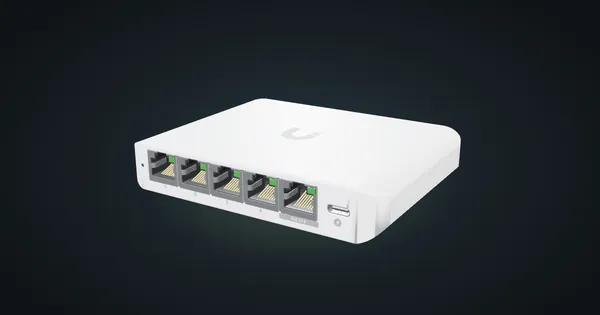
Ubiquiti UniFi Flex Mini 2.5G in a 10-inch rack
Ubiquiti UniFi Flex Mini 2.5G in a 10-inch rack: five 2.5 GbE ports, USB-C or PoE power, 6.4 W maximum and a 94 mm deep 1U community mount.
Ubiquiti UniFi Flex Mini in a 10-inch rack
Ubiquiti UniFi Flex Mini in a 10-inch rack: five Gigabit ports, USB-C or PoE power, 2.5 W maximum draw and a 74 mm deep 1U community tray.